
At aktivere videooptagelsesfunktionen på din Bambu Lab 3D printer (Udvalgte modeller) hjælper dig med bedre at registrere printerens printstatus. På denne måde, hvis du støder på nogen unormalitet i print-proces eller ikke kan udskrive, kan du se videoen på SD-kortet til analyse.
Enable the video recording function
X1 Series
Insert the SD card on the side of the display.
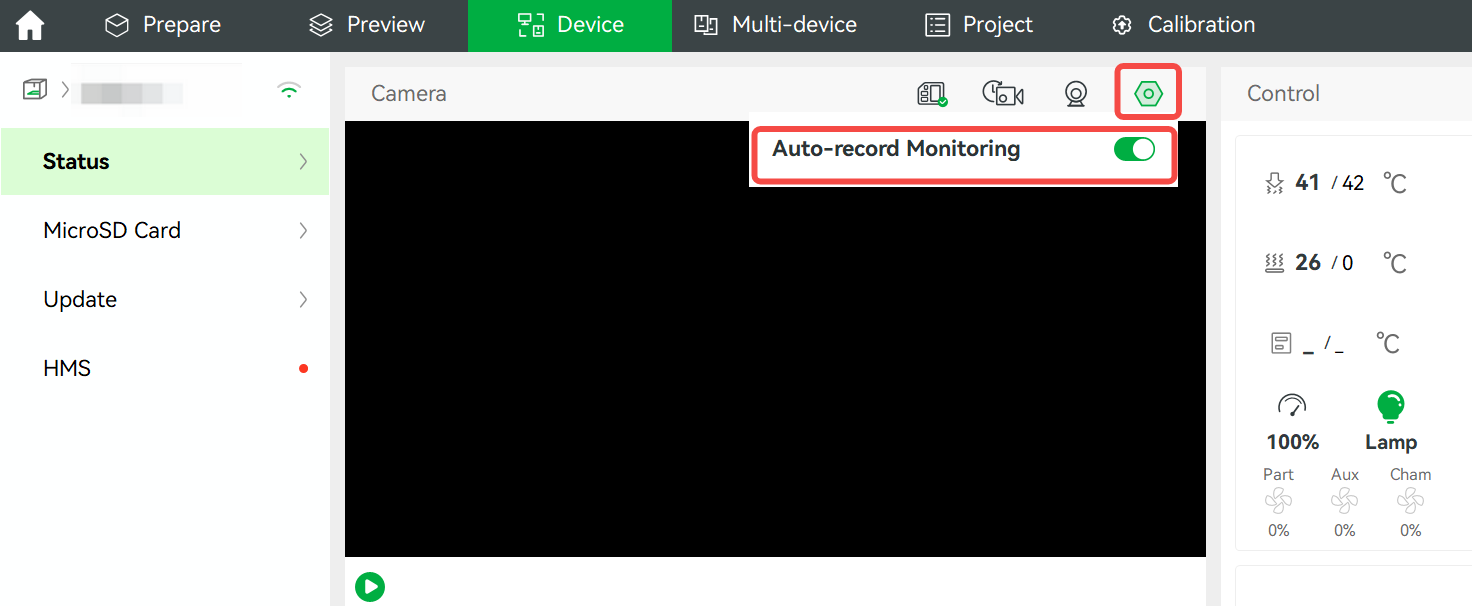
Go to Setting > General > Video.
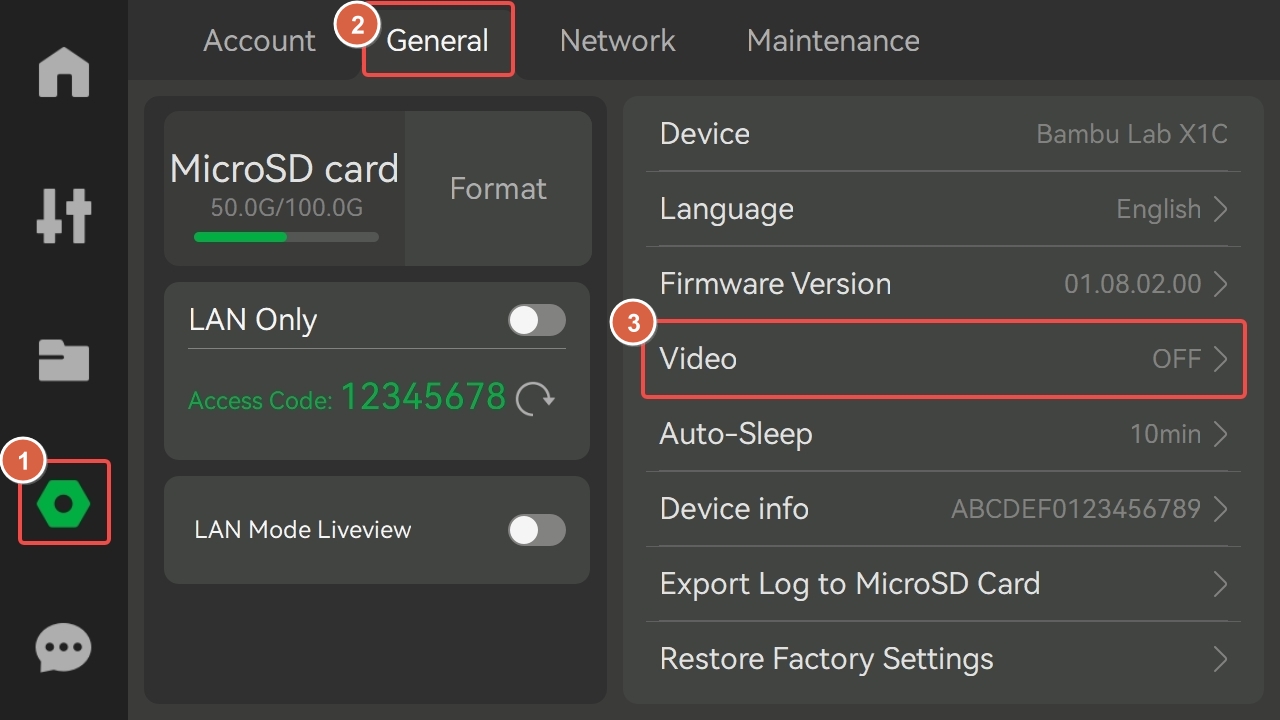
Turn on the video recording function and set the video resolution.
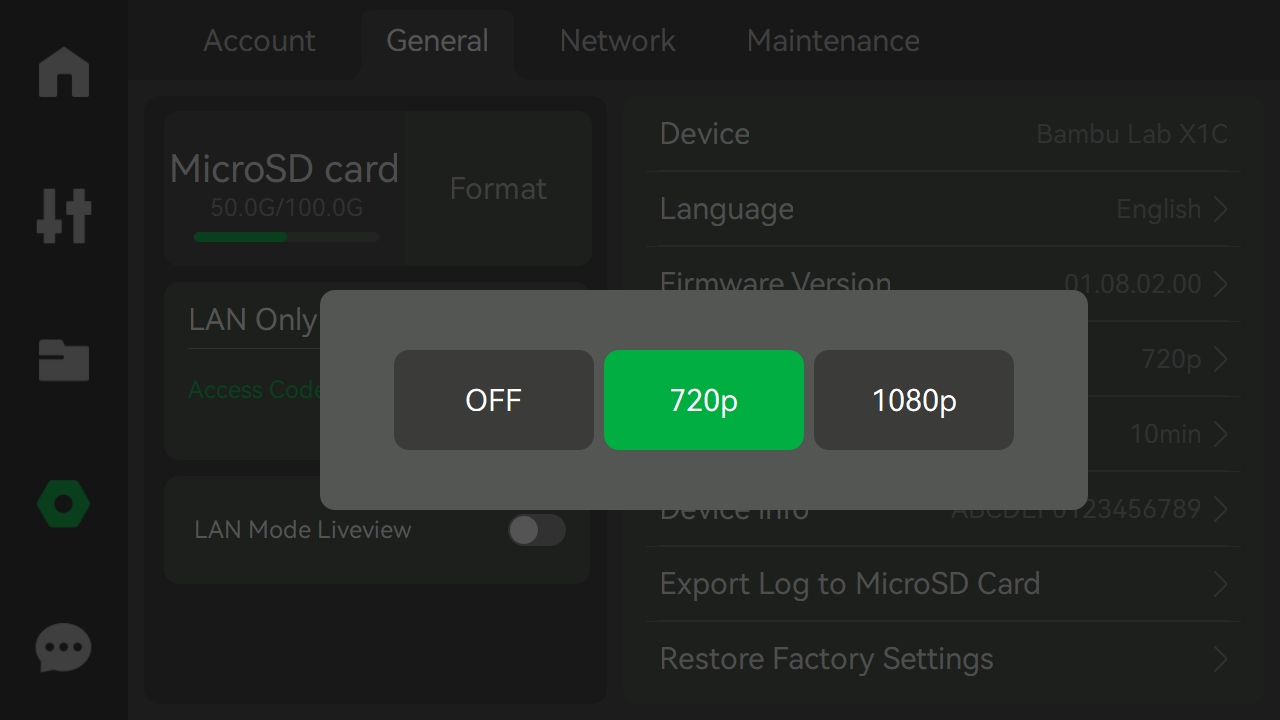
P1 Series
Open Bambu Studio, go to the Device page, and click the Camera Setting icon to turn on Auto-record Monitoring.
A1 Series
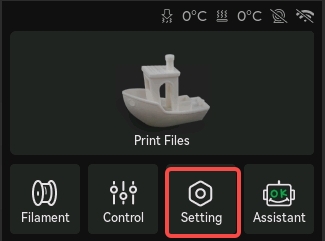
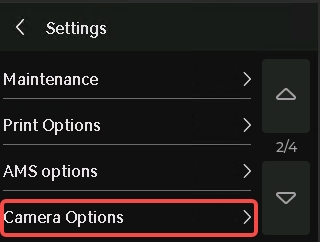
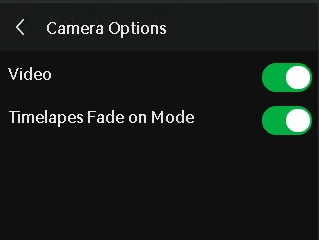
Go to Settings > Camera Options and turn on the Video feature.
 |  |  |
H2 Series/P2S
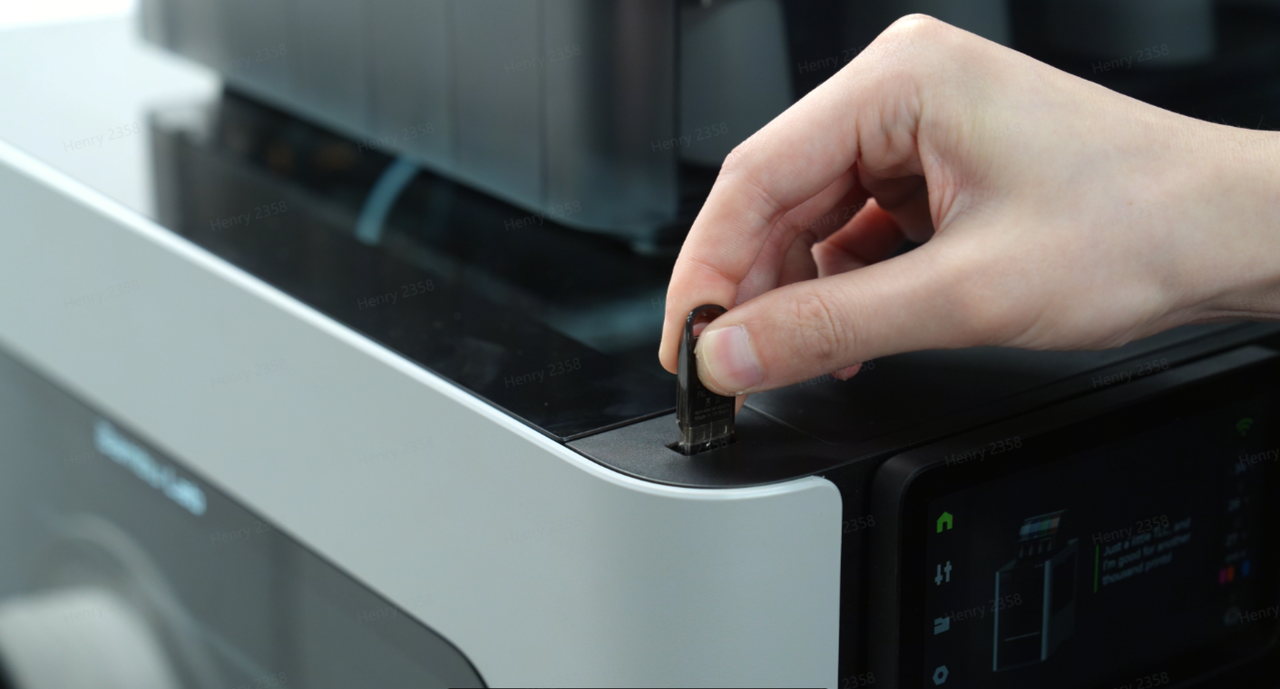
The H2D, H2S, and P2S models are all equipped with an external USB port for connecting a USB flash drive. Once a USB flash drive is inserted, the device supports video recording file storage functionality.
Video Recording Function Operation Process
- Insert a USB flash drive into the USB port located on the enclosure top frame at the side of the device's screen;
Note: If no USB flash drive is inserted or the external storage device is not recognized, the device will pop up a prompt: "Unable proceed without external storage. Please check if the external storage is inserted into the printer. If it still cannot be read, you can try formatting it.", and subsequent steps cannot be performed.
- After inserting the USB flash drive, sequentially tap "Settings" > "Video" > "1080p" on the device interface to enable the video recording function;
 | 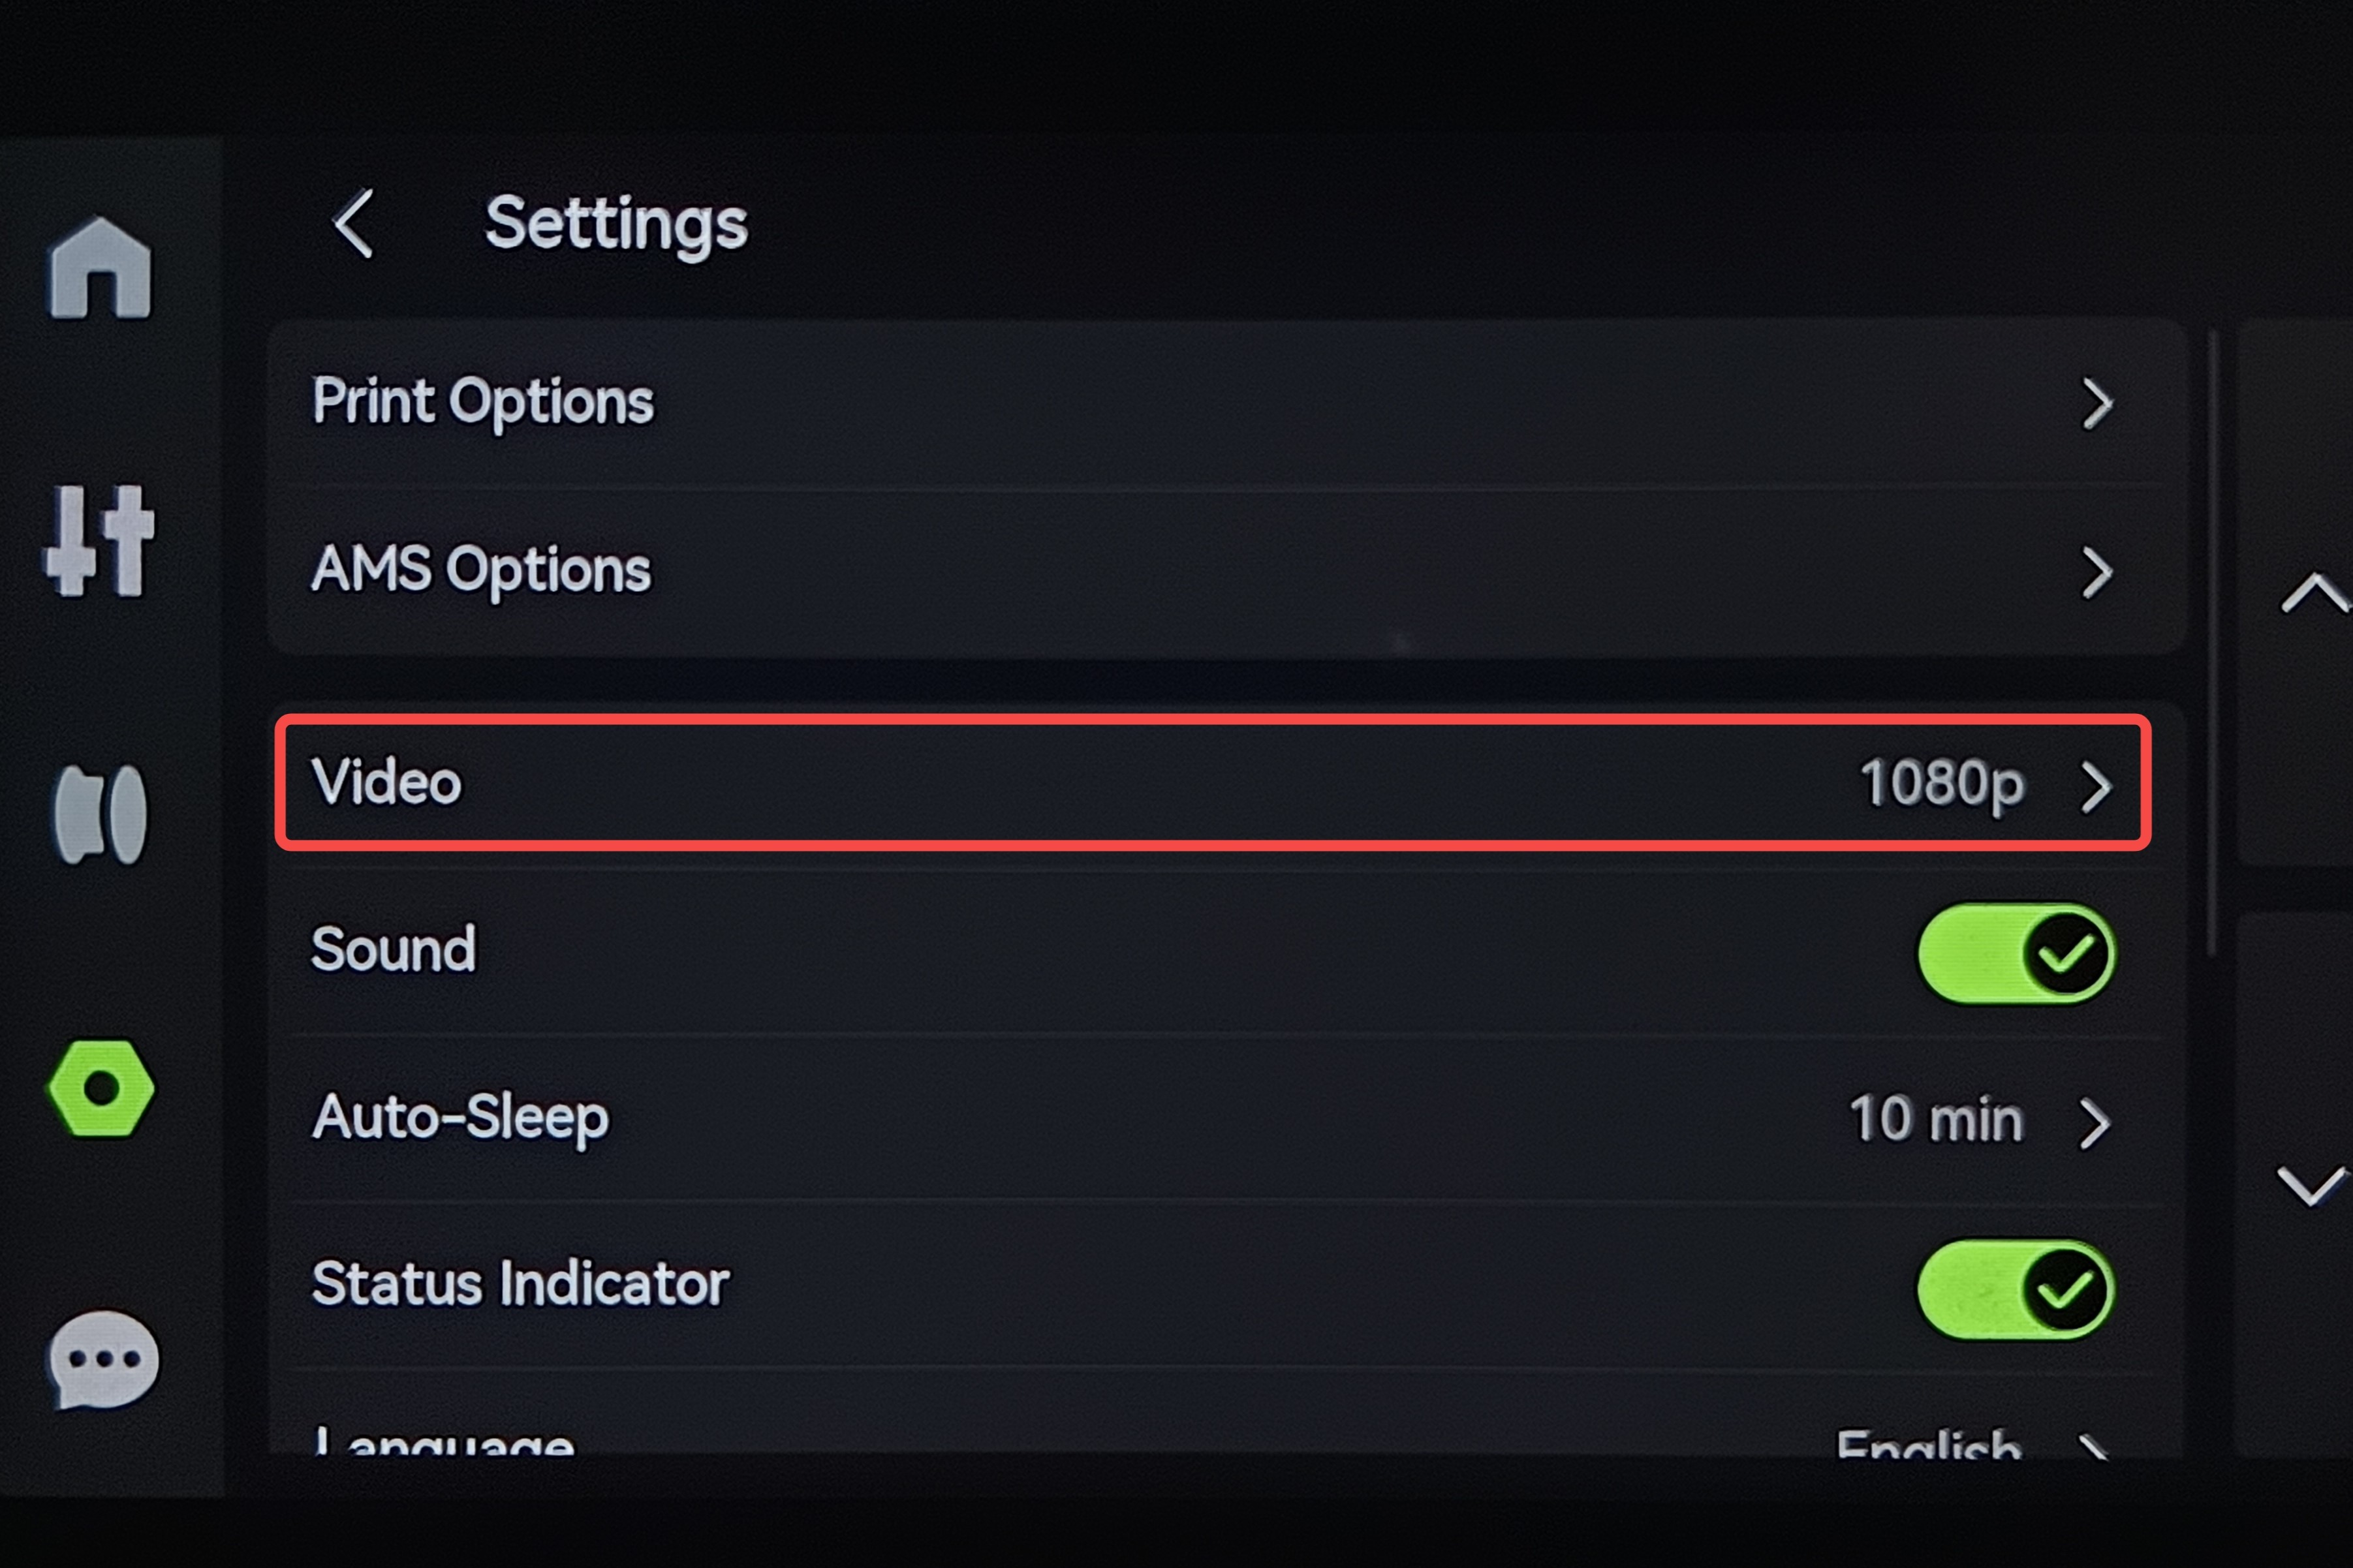 |
Note: When the recording function is turned on, it will record the video in the printer chamber and save it to the SD card/USB flash drive when printing starts (including the pause period), and stop recording when printing ends.
Specifications and storage mechanism of the SD card
Requirements for SD cards: FAT32 format, up to 2TB. We recommend that you use an SD card with a Class 10 or U1 (minimum write speed of 10MB/S) grade or higher. Larger SD cards need to be formatted using the built-in Format option on the screen.
The printer uses up to 85% of the SD card's memory for video storage. If the memory of the SD card has been occupied 85% or more, the video cannot be stored, but this does not affect the printing function.
If the remaining SD card memory exceeds 15%, it can record printing videos until 85% of the SD card memory is occupied. After that, the new video will flush out the old video.
Specifications and usage recommendations of the USB flash drive
| USB flash drive file format | Formatting operating system | Maximum USB flash drive capacity | Maximum single file |
|---|---|---|---|
| FAT32 | Linux or MAC system | 2TB | 4GB |
| Windows system | 32G | 4GB | |
| exFAT | Any system | 128PB | 16EB |
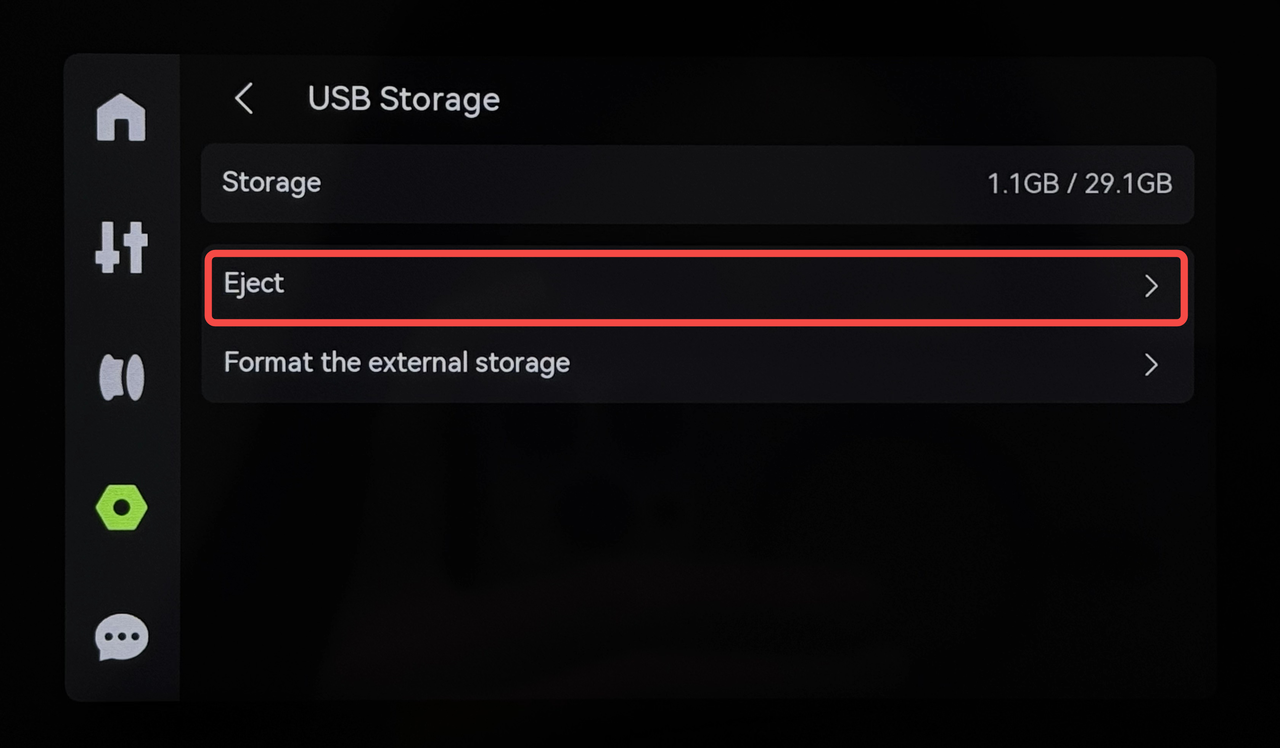
- If you need to remove the USB flash drive, it is recommended to use the USB flash drive safe eject function to avoid hot plugging. Directly unplugging the USB flash drive may cause the video and timelapse files to be damaged and unable to be opened.
- It is recommended to directly insert the USB flash drive into the printer's USB port instead of using the card reader + MicroSD card mode. If you need to use a card reader + MicroSD card, please directly plug and unplug the card reader when plugging and unplugging.
Please refer to Specifications and Usage Recommendations of H2D USB Flash Drives for more information.
Export videos from the SD card/USB flash drive
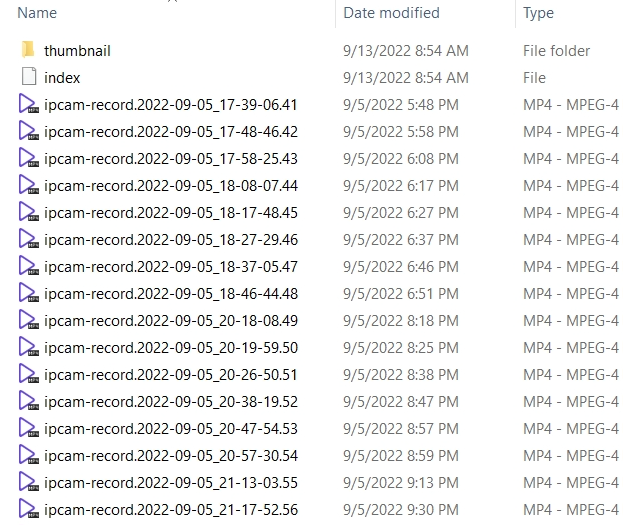
When you need to view the videos on the SD card/USB flash drive, you can insert the SD card/USB flash drive into your PC and the video files are stored in a folder called ipcam.
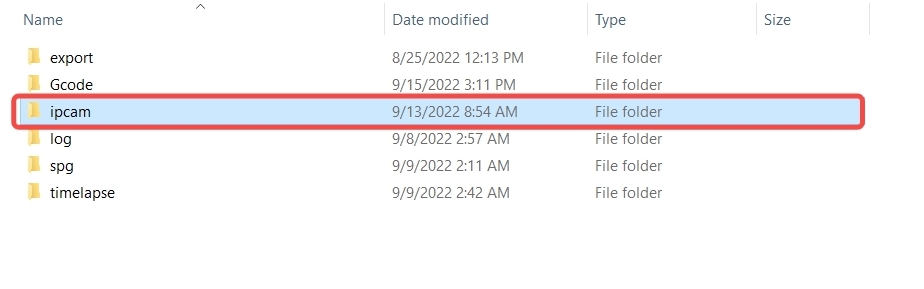 X1 Series | 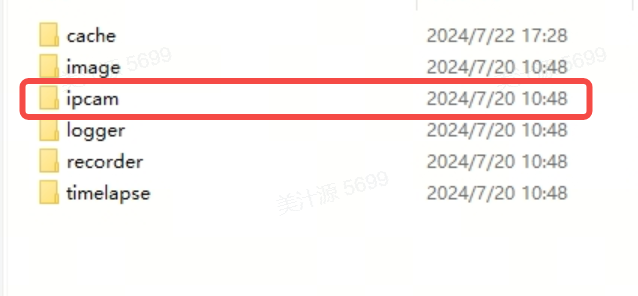 P1/A1 Series |
H2D

Click the folder, and you can see that the video is divided into several files. Each video is about 10 minutes long, and the file name has the corresponding date and time. You can find the video in the corresponding period according to the file name, and then you can watch the printing situation in the chamber in the corresponding time period, or you can send them to our after-sales team for analysis.
End Notes
We hope the detailed guide provided has been helpful and informative.
To ensure a safe and effective execution, if you have any concerns or questions about the process described in this article, we recommend submitting a technical ticket regarding your issue. Please include a picture or video illustrating the problem, as well as any additional information related to your inquiry
OPRET BAMBU LAB SAG